
Spring is the busiest and most competitive selling season in the UK property market. Rightmove data consistently shows that properties listed in March, April, and May receive more views, generate more enquiries, and sell faster than those listed at any other time of year. The combination of longer days, improving weather, and buyers motivated by the new tax year creates a surge of activity that savvy sellers can capitalise on.
But with more properties coming to market in spring, competition is fierce. The difference between a listing that gets 50 views and one that gets 500 often comes down to one thing: the quality of the photography. And the quality of the photography depends largely on how well the property has been prepared.
This room-by-room checklist ensures your home is camera-ready before the photographer arrives, so you get the best possible images from your investment.
01The Week Before: Strategic Preparation
Great property photography starts well before the photographer arrives. The week before your shoot is when the heavy lifting happens.
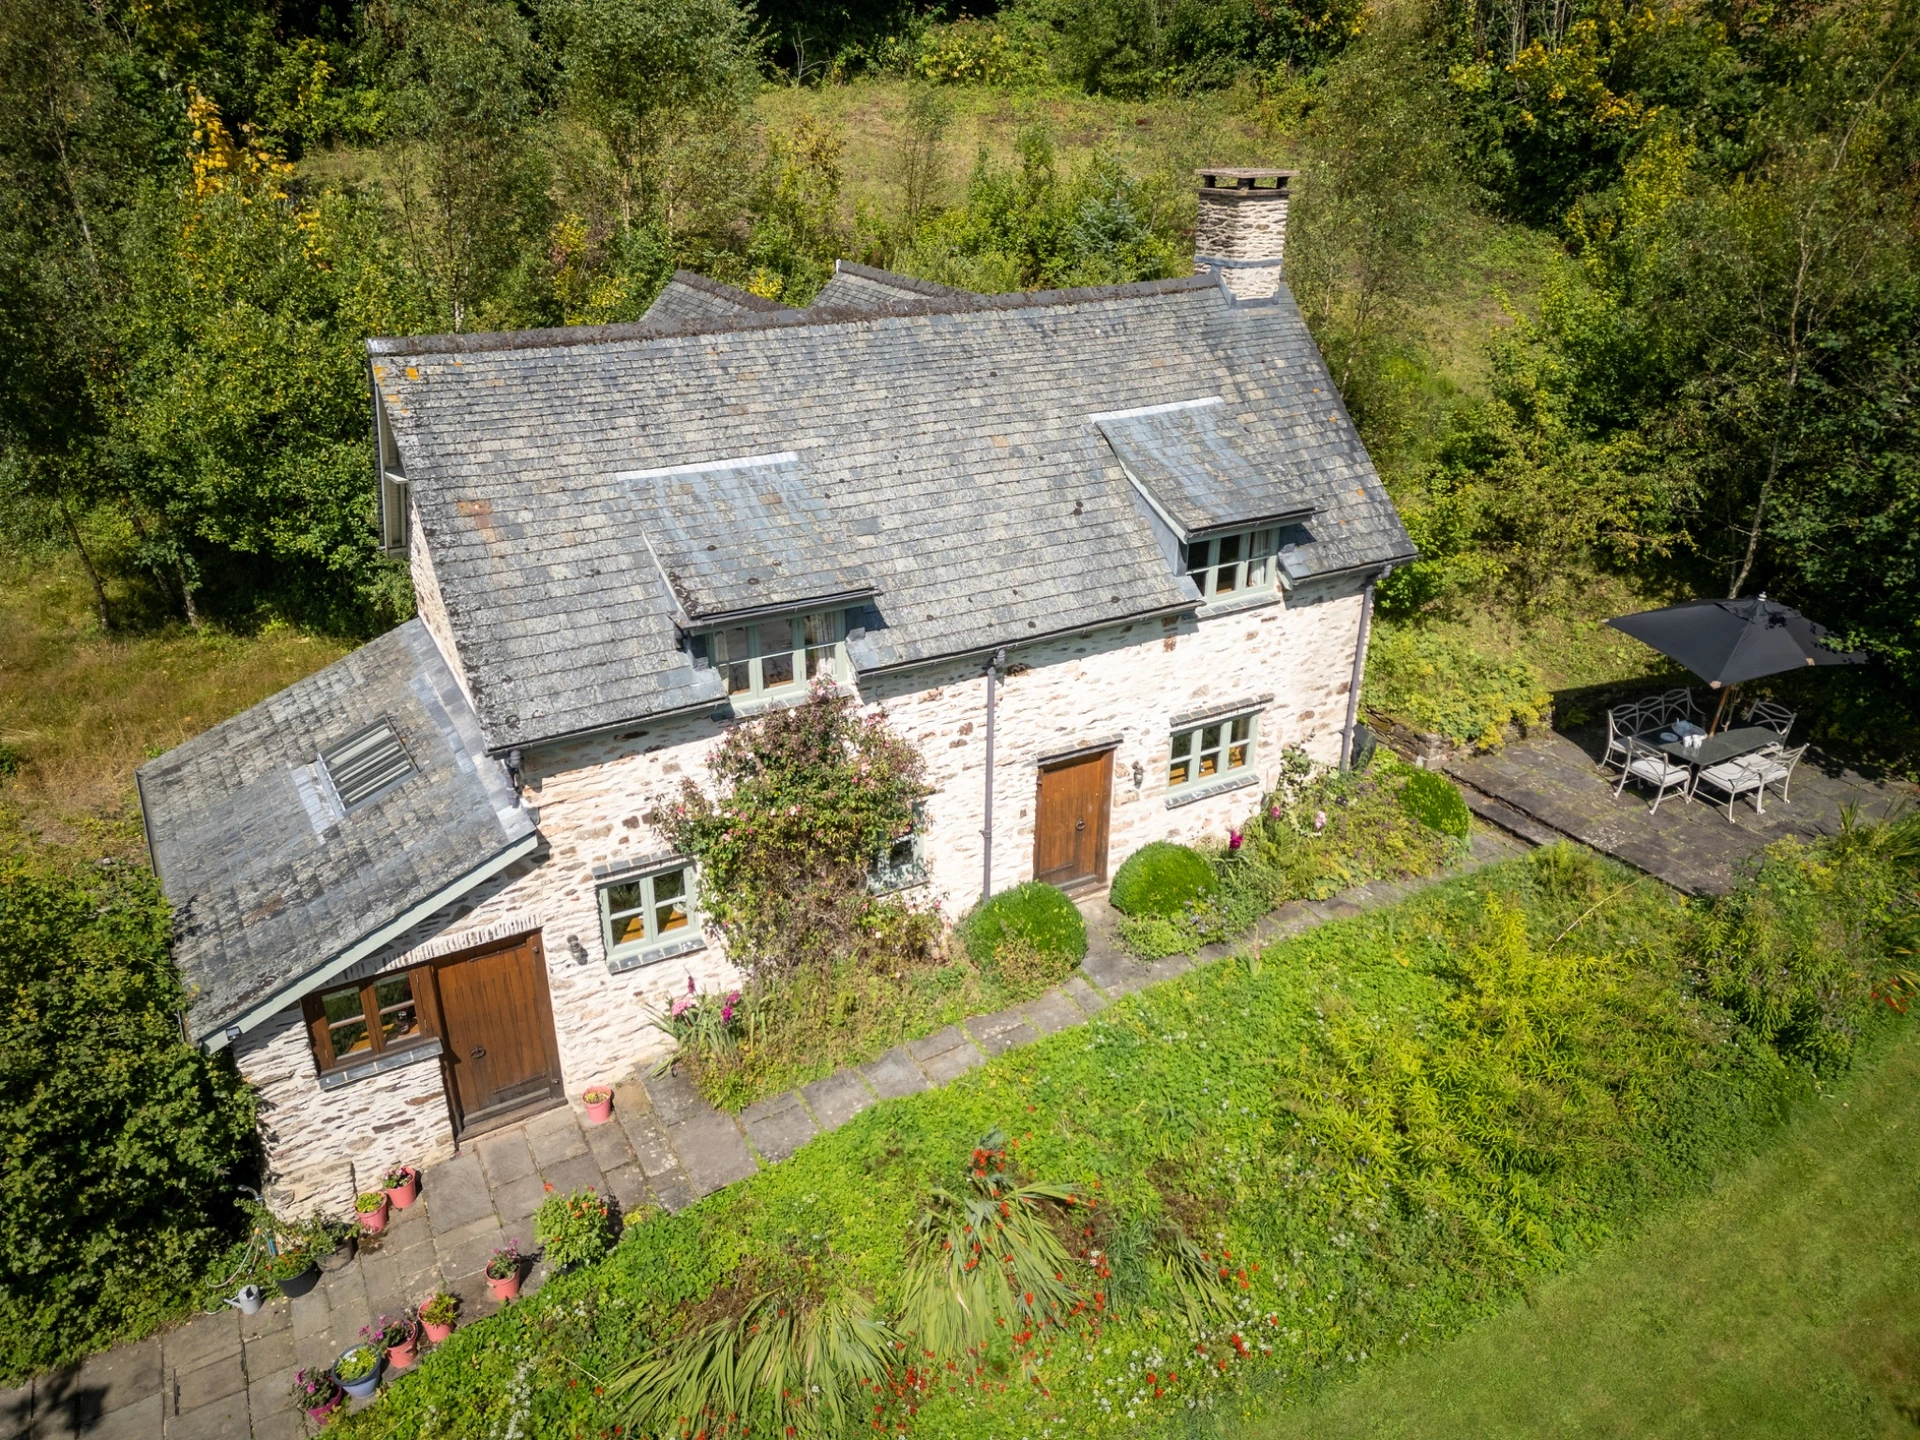
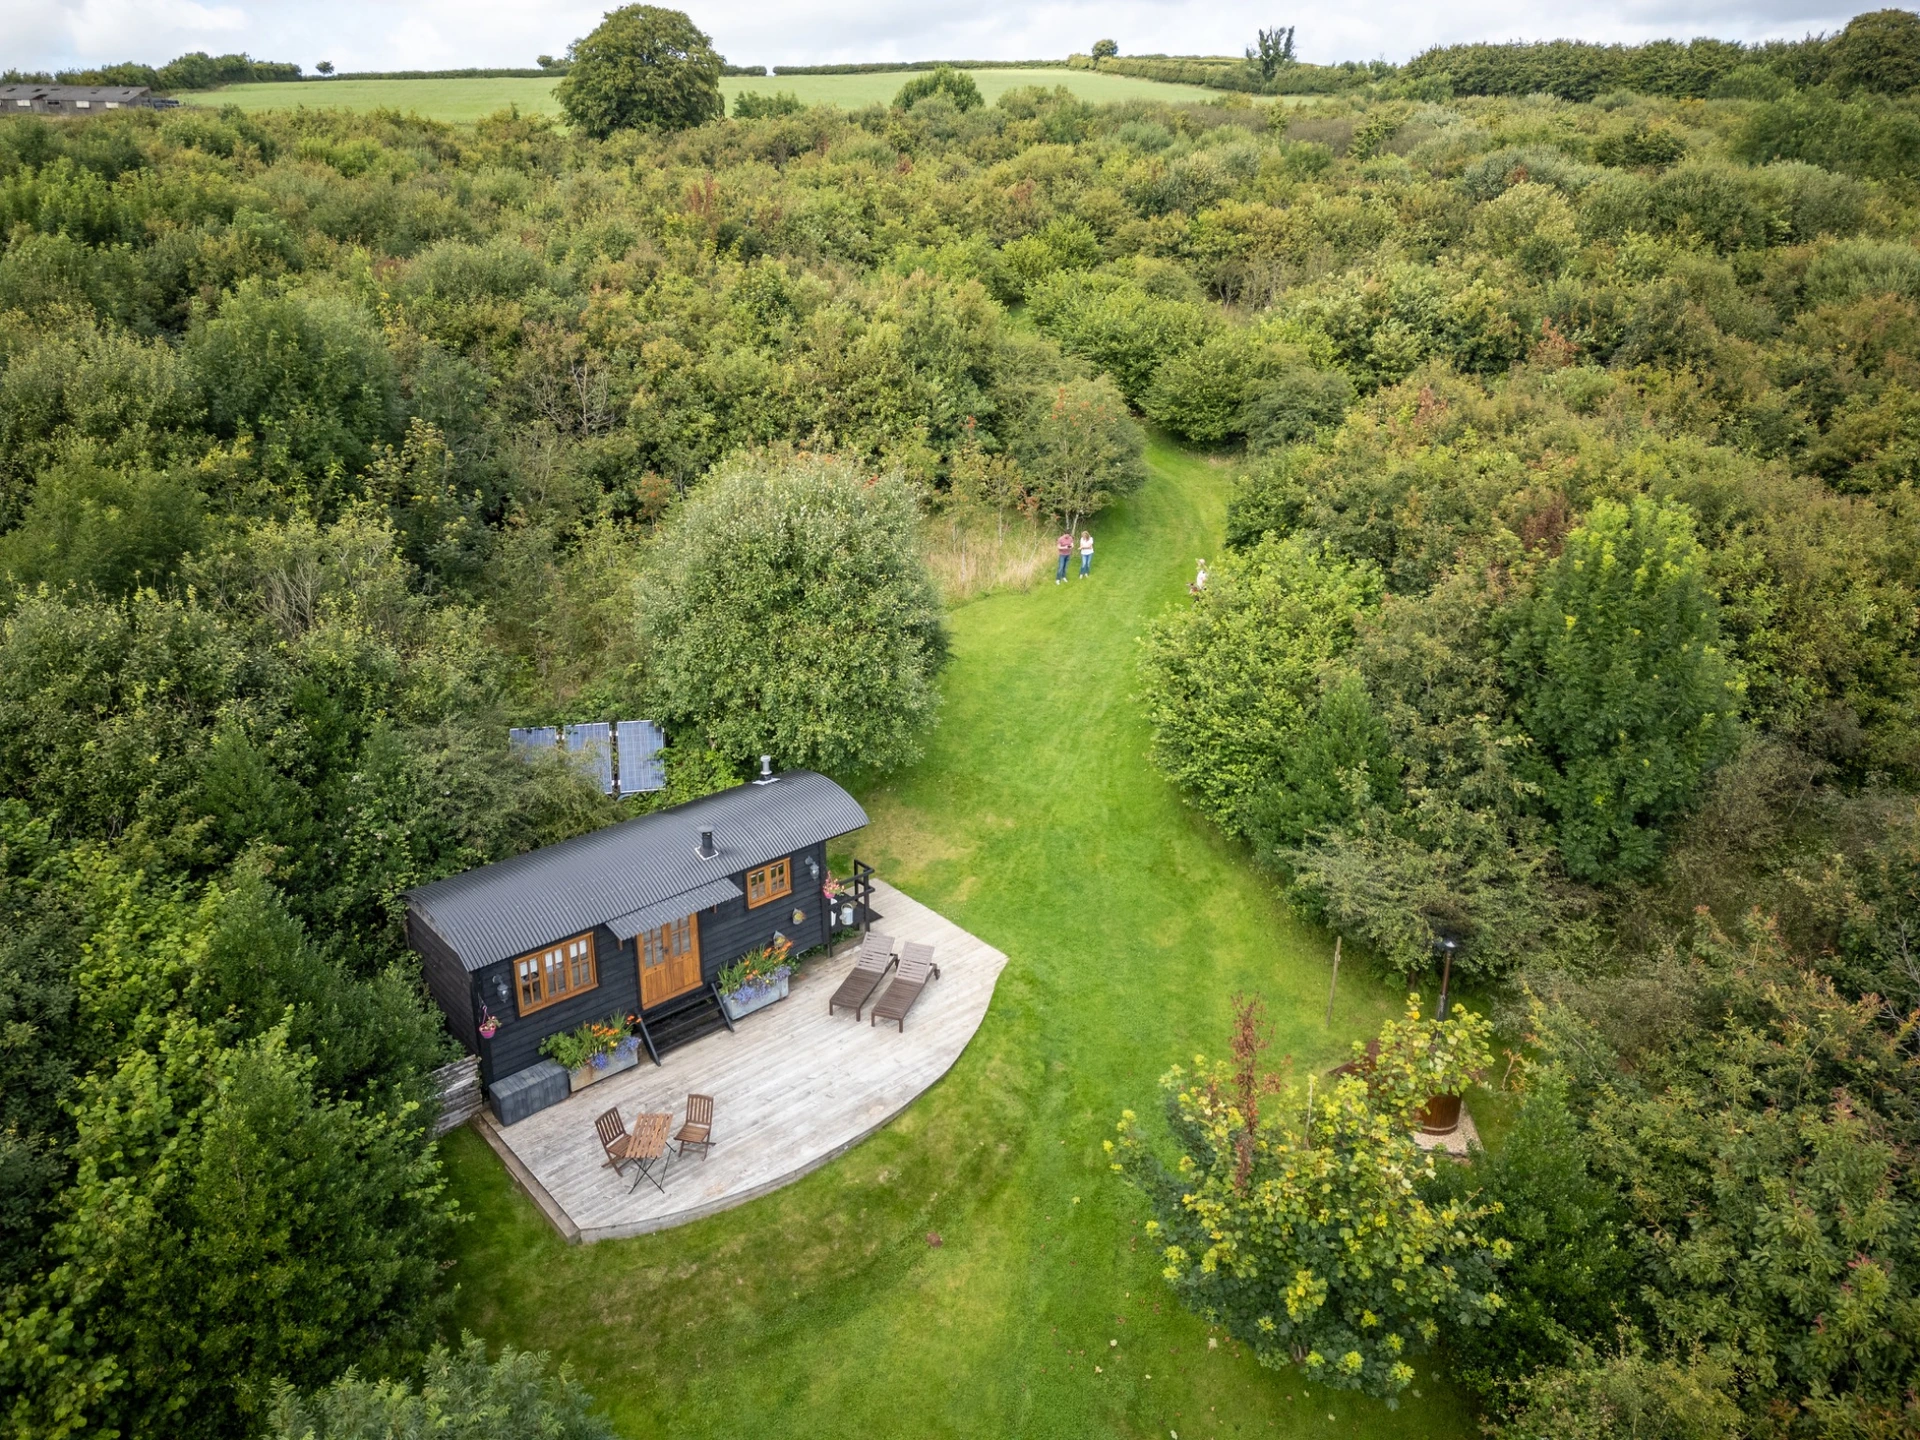
Exterior and Kerb Appeal
The front of your property is the first image buyers see on Rightmove and Zoopla. It needs to stop the scroll.
| Task | Detail |
|---|---|
| Front door | Clean, touch up paint if needed, polish hardware |
| Windows | Clean inside and out, dirty glass kills natural light |
| Driveway | Sweep, jet-wash if stained, remove weeds from cracks |
| Front garden | Mow, edge, weed, plant seasonal colour if bare |
| Bins | Move completely out of sight |
| Cars | Move off the drive (unless it's a feature) |
| House number | Ensure it's visible and clean |
| Gutters | Clear any visible moss or overflow stains |
Spring is perfect for kerb appeal because early bulbs, blossom, and fresh green growth naturally enhance the front of a property. If your front garden is bare, a few pots of spring flowers (daffodils, tulips, primroses) cost under £20 and make a disproportionate difference in photos.
Garden and Outdoor Spaces
Spring gardens are emerging from winter dormancy, which means they can look either fresh and promising or bare and neglected. A little preparation goes a long way.
- Mow the lawn 1-2 days before the shoot, fresh stripes look immaculate
- Edge all borders, clean lines make gardens look maintained
- Remove dead plants and winter debris
- Clean garden furniture or set out fresh pieces
- Jet-wash patios and decking, winter algae photographs terribly
- Tidy sheds and outbuildings, the photographer may want to show them
- Remove trampolines, paddling pools, and children's toys unless they're a feature
02Room-by-Room Interior Checklist
Hallway and Entrance
The hallway sets the tone for the entire property. It's often the first interior shot buyers see.
- Remove coats, shoes, bags, and umbrellas from hooks and floors
- Clear the console table, one vase of flowers or a single decorative item
- Ensure all light bulbs work and match in colour temperature
- Clean the floor thoroughly, hallways show dirt easily
- Remove doormats if they're worn or branded
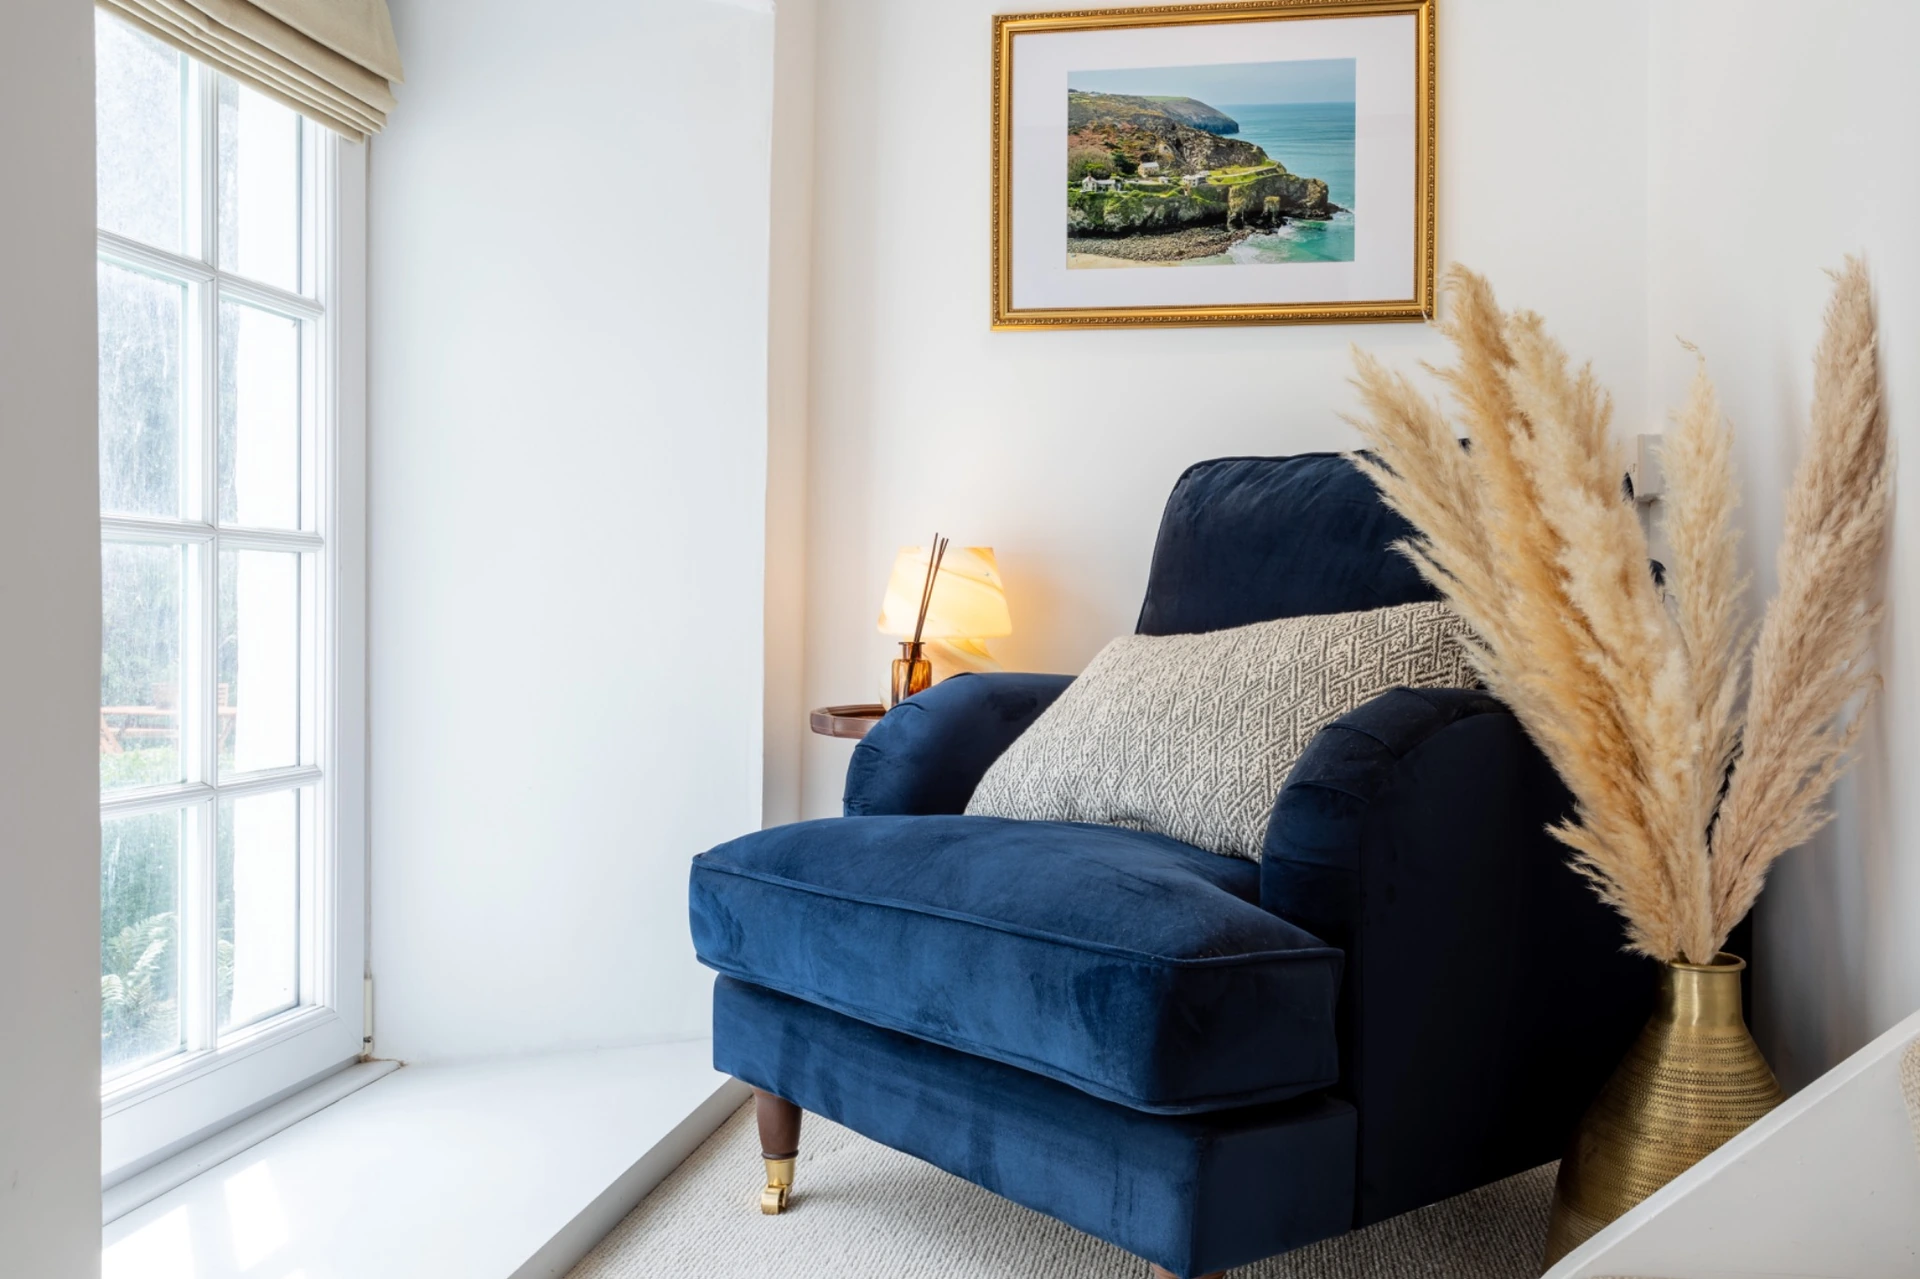
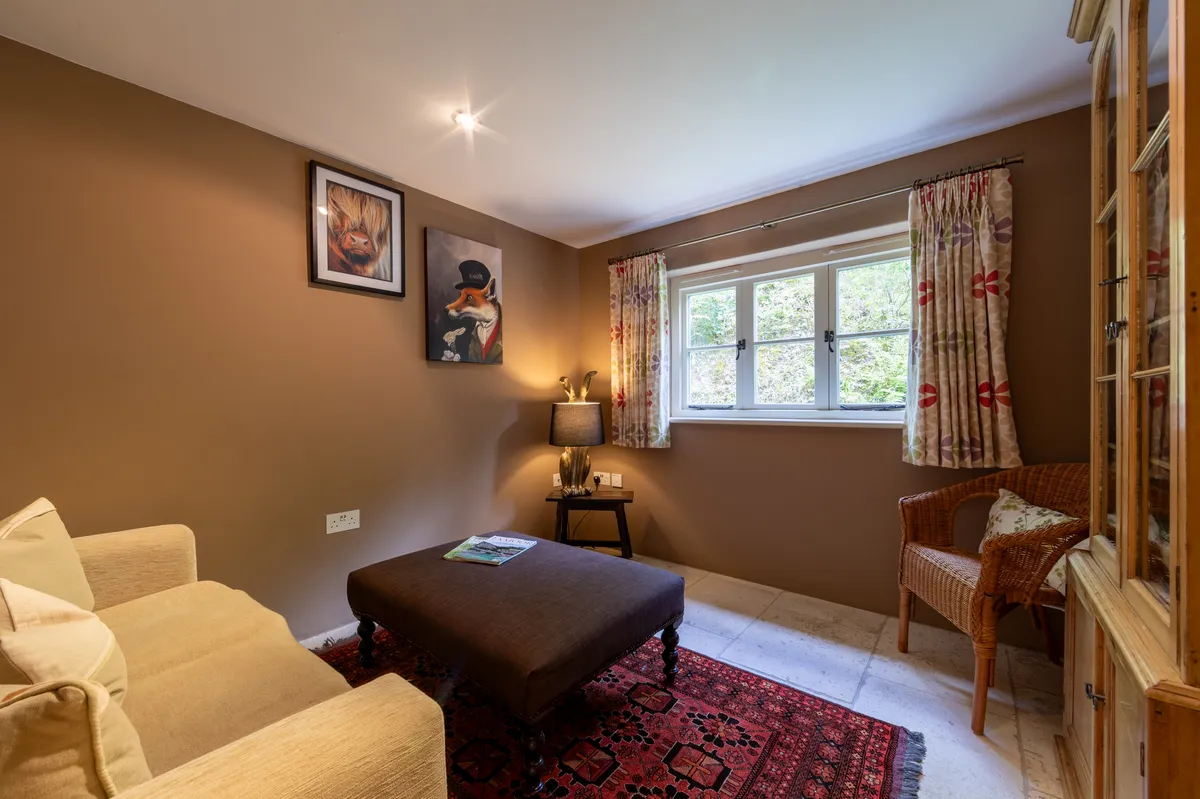
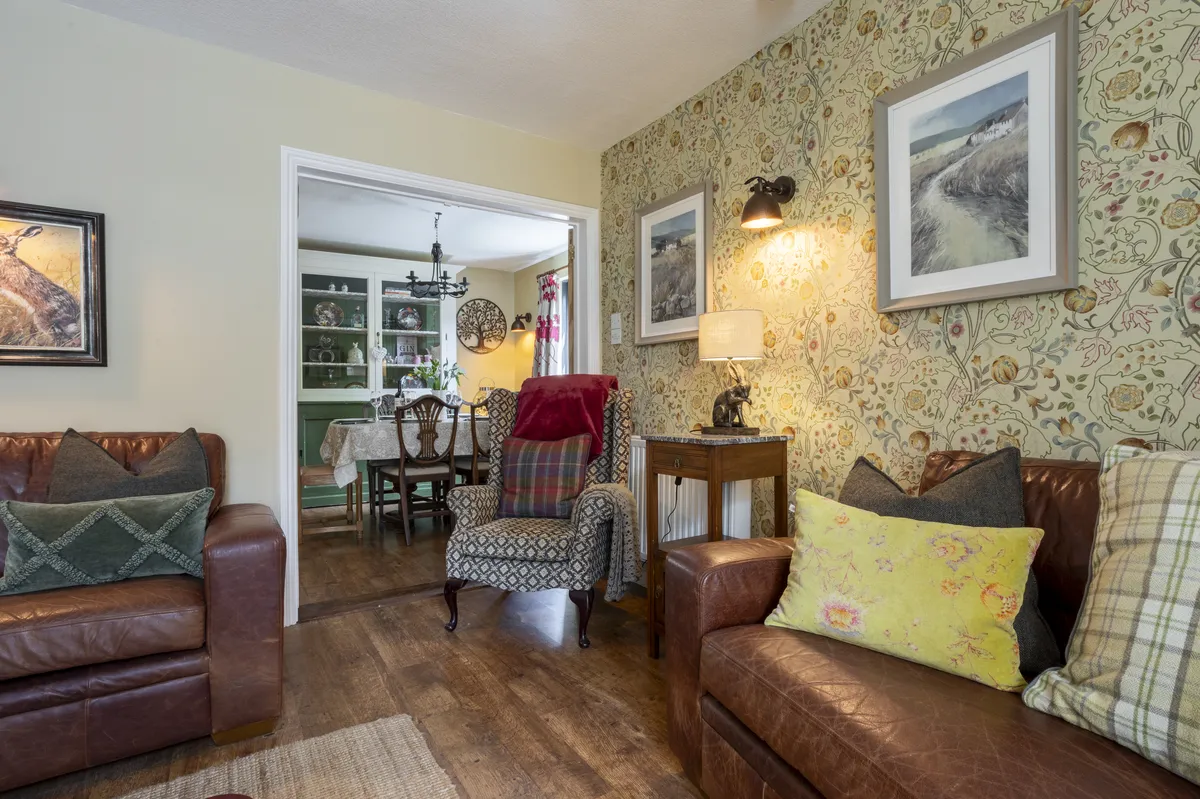
Living Room
The living room is where buyers imagine themselves relaxing. It needs to feel spacious, bright, and inviting.
- Declutter surfaces, remove remote controls, magazines, charging cables
- Plump cushions and arrange them symmetrically
- Fold throws neatly over sofa arms
- Clear the mantelpiece, one or two items maximum
- Hide the TV remote, games controllers, and cables behind the TV
- Add fresh flowers, a single vase makes a significant difference
- Open curtains and blinds fully, natural light is essential
- Remove personal photos from surfaces (walls are usually fine)
- Vacuum and clean the floor, carpet lines photograph well
Kitchen
Kitchens sell houses. This room deserves the most preparation.
- Clear all worktops, toaster, kettle, and one decorative item only
- Remove fridge magnets, children's artwork, and notices
- Clean the hob, oven door, and splashback until they gleam
- Empty and clean the sink, no washing up, no draining board clutter
- Hide the bin, inside a cupboard or out of the room entirely
- Remove dish cloths, sponges, and washing-up liquid
- Add a bowl of fresh fruit or a small plant for colour
- Clean the floor, kitchen floors show every mark in photos
- Ensure under-cabinet lights are on if fitted
Bedrooms
- Make the bed immaculately, fresh, light-coloured bedding works best
- Remove bedside clutter, one lamp and one book maximum
- Clear the dressing table, or remove items entirely
- Open curtains fully and ensure windows are clean
- Remove clothes from chairs, doors, and floors
- Close wardrobe doors, open wardrobes look messy
- Add a throw or cushions for a styled, hotel-like feel
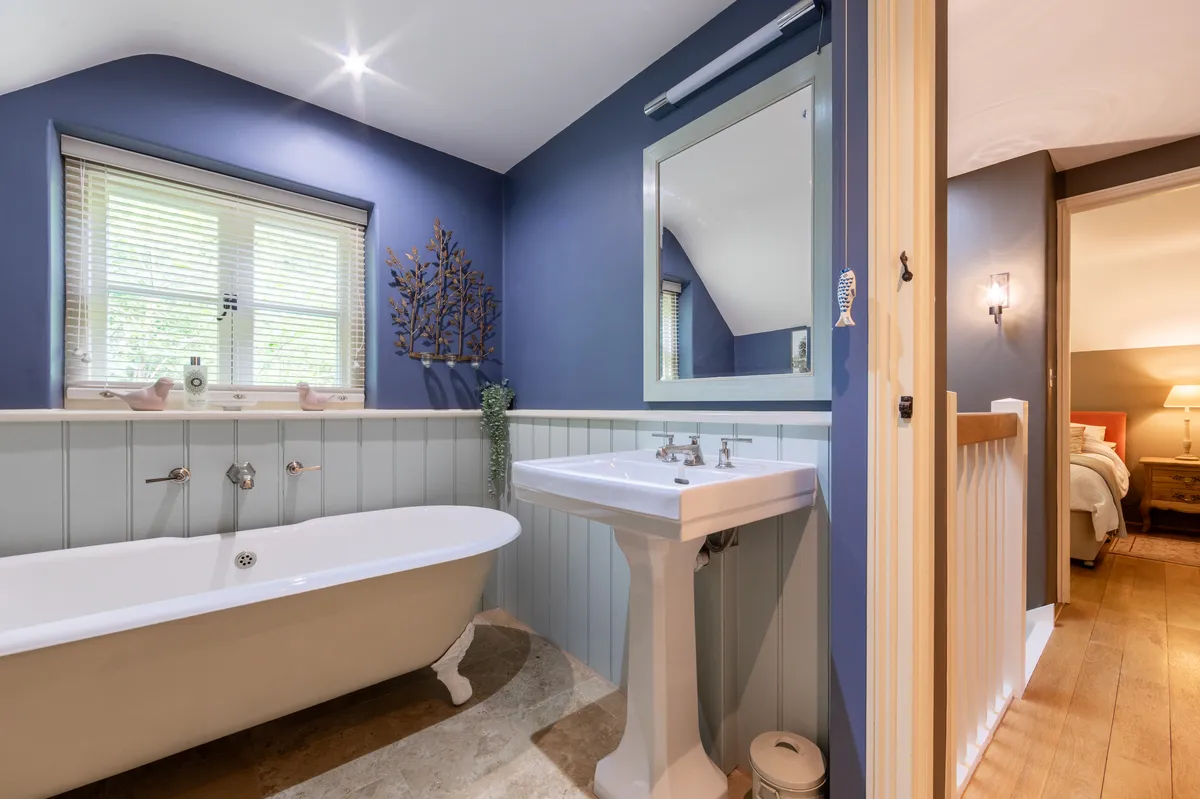
Bathrooms
- Remove all personal products, shampoo, toothbrushes, razors, everything
- Replace with fresh white towels, folded or rolled neatly
- Clean mirrors, glass, and chrome until they sparkle
- Remove bath mats unless they're pristine
- Close the toilet lid, always
- Add a small plant or candle for styling
- Ensure grouting is clean, re-grout if necessary
- Fix any dripping taps, water marks photograph badly
Home Office / Study
- Clear the desk, laptop, one plant, and a notebook maximum
- Hide cables, cable management makes a huge difference
- Remove personal documents and paperwork
- Ensure the chair is pushed in neatly
03The Morning of the Shoot
On the day of the photography session, run through this final checklist:
| Time | Task |
|---|---|
| 1 hour before | Open all curtains and blinds |
| 1 hour before | Turn on all interior lights (including lamps and under-cabinet lights) |
| 45 minutes before | Do a final walkthrough, check every room |
| 30 minutes before | Remove pets and pet bowls/beds |
| 30 minutes before | Take out the bins |
| 15 minutes before | Final check of kitchen and bathrooms |
| 15 minutes before | Move your car off the drive |
| Shoot time | Leave the property if possible, it helps the photographer work freely |
04Common Mistakes That Ruin Property Photos
Even well-prepared properties can fall down on small details:
Mismatched light bulbs. A room with warm yellow bulbs and cool white bulbs looks terrible in photos. Replace any mismatched bulbs before the shoot, warm white (3000K) throughout is ideal.
Toilet seats left up. It happens more often than you'd think. Always down, always closed.
Reflections in mirrors and glass. The photographer will manage most reflections, but removing obvious items that reflect (like a TV showing a blank screen) helps.
Visible cables and plugs. Trailing cables across floors and walls are distracting. Tuck them behind furniture or use cable ties.
Seasonal mismatch. If you're photographing in spring, remove Christmas decorations, heavy winter throws, and dark accessories. Light, fresh styling matches the season.
05Why Professional Photography Matters More in Spring
Spring is when the most properties come to market, which means the most competition. A professionally photographed listing stands out dramatically against the sea of phone-camera shots that flood Rightmove every March.
The numbers are clear: professionally photographed properties receive up to 118% more online views, sell 32% faster, and can achieve higher final sale prices. In a competitive spring market, that edge is worth far more than the cost of a photography session.
06Book Your Spring Photography Session
Spring is my busiest season, March and April slots fill up quickly. To ensure your property is photographed at its spring best, get in touch early. I cover all of Somerset, Bristol, Bath, and South Wales, with packages starting from just £149.
Need help deciding what to prioritise? Get your free Photography Score to see how your listing photos compare, or view pricing for a tailored package.
Related reading: Decluttering for Property Photos: A Room-by-Room Checklist | Spring Property Photography in Somerset | The Best Time of Day to Photograph Your Property
Want to see these techniques in action? Browse my property photography across Somerset, Bristol and Bath or get in touch for a quote.