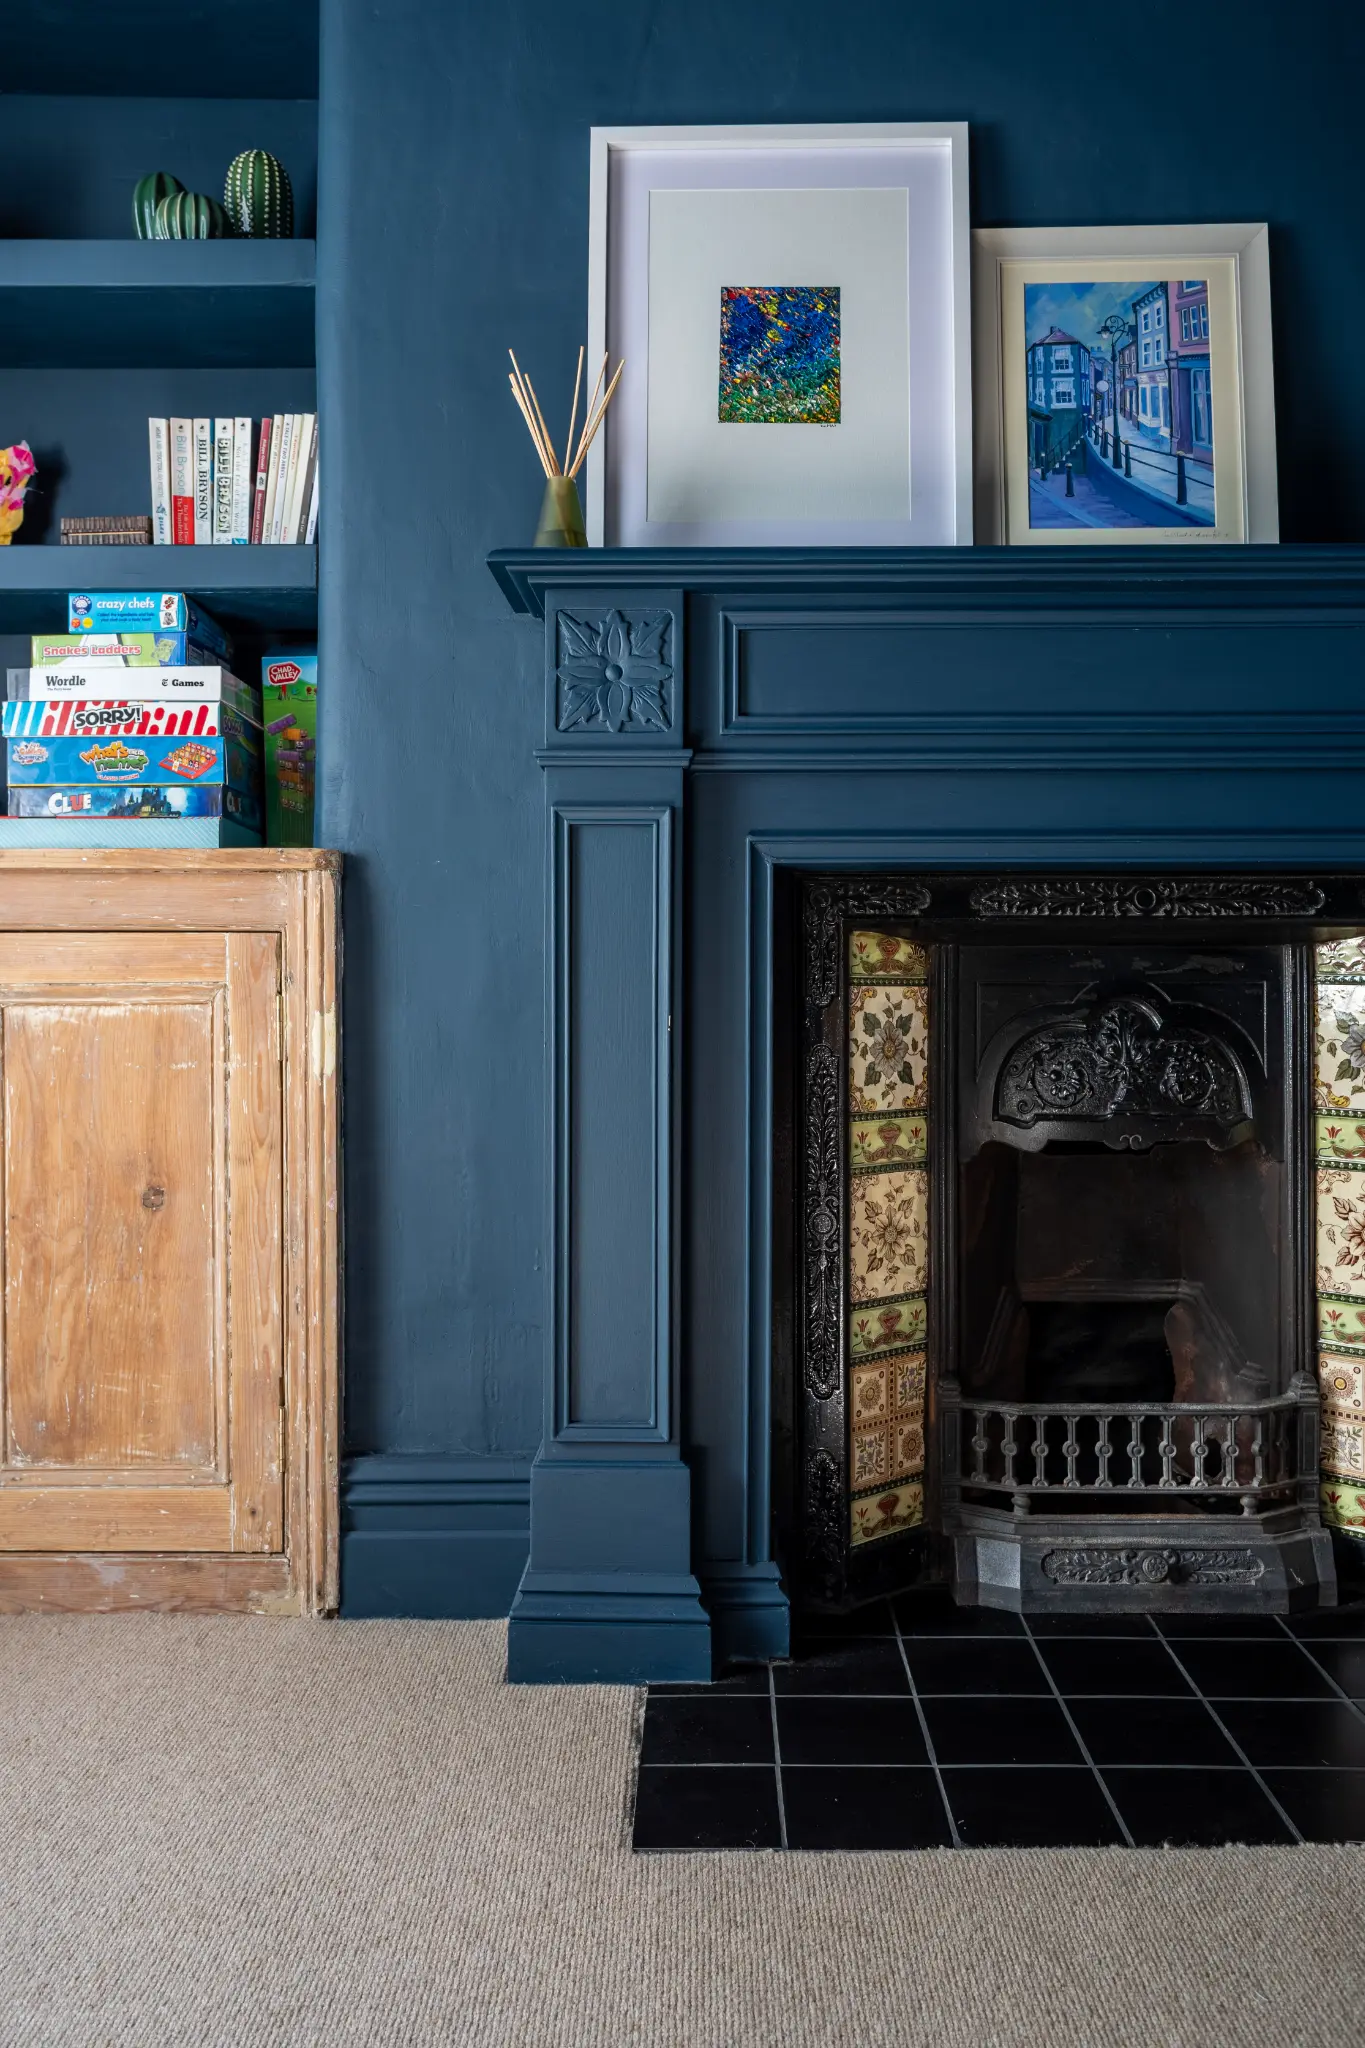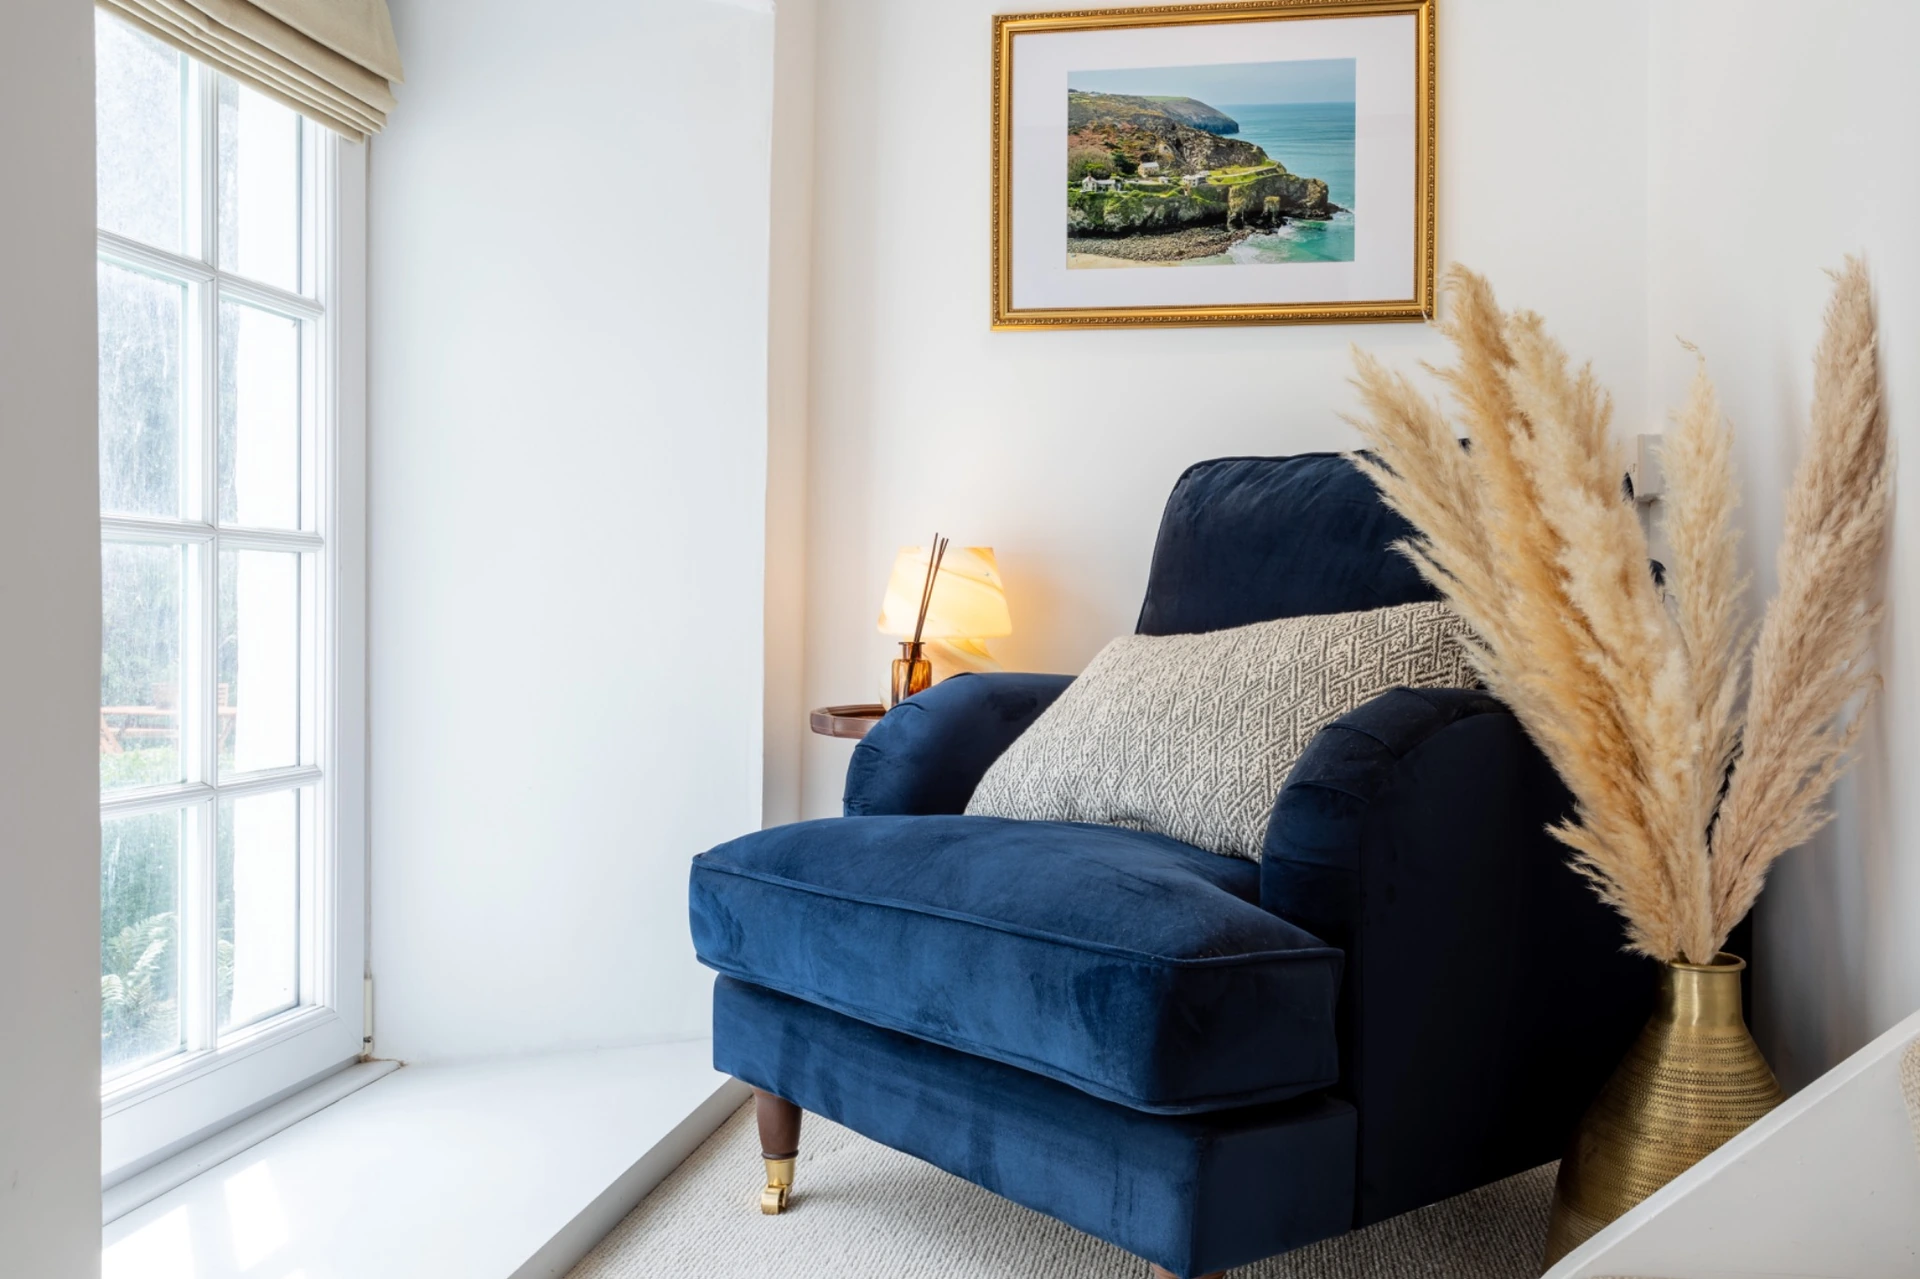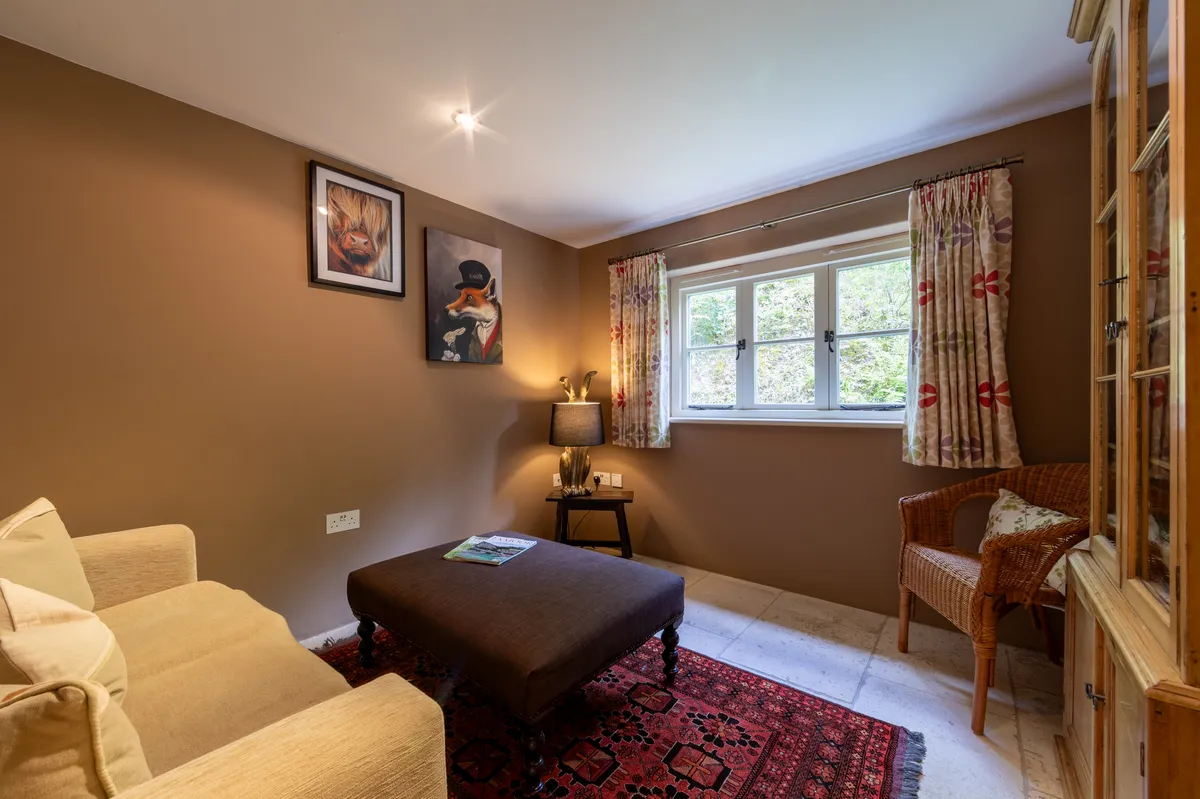
DIY property photography for Rightmove can work for budget listings under £200k if you follow key rules: shoot in daylight, use a wide-angle lens, keep the camera level, declutter ruthlessly, and take at least 15 photos. However, professional photography delivers measurably better results: 118% more clicks, 32% faster sales, and up to 5% higher prices. For properties over £250k, the £175-£299 cost of professional photography pays for itself many times over in reduced time on market.
Every property that goes on Rightmove needs photos. The question is whether you take them yourself or hire a professional. Both options have their place, and I'll be honest about when each makes sense. But first, let's understand what Rightmove actually requires and how the platform's algorithms treat different quality levels.
01What Rightmove Requires (and Recommends)
Rightmove's minimum requirements are straightforward: at least one photo per listing. But their recommendations tell a different story. Rightmove's own research shows that listings with 20+ photos receive significantly more engagement than those with fewer images. They also recommend:
- A minimum resolution of 1024x768 pixels
- Landscape orientation (horizontal, not vertical)
- No watermarks or agent branding on images
- Accurate representation of the property
What Rightmove doesn't tell you is that their search algorithm appears to favour listings with more photos and higher engagement rates. Properties that receive more clicks and longer viewing times tend to appear higher in search results. Professional photography drives both of these metrics.
02DIY Photography: When It Makes Sense
Let me be honest: there are situations where DIY photography is a reasonable choice.
Rental properties under £1,000/month: For lower-value rentals where the marketing budget is minimal, decent phone photography can work if you follow the right techniques.
Quick private sales to known buyers: If you're selling to a neighbour or family member and just need basic documentation, professional photography isn't necessary.
Temporary listings: If a property is going on the market for a very short period (perhaps to test interest), basic photos might suffice initially.
For everything else, particularly sales in competitive markets like Bristol, Bath, and Somerset, professional photography delivers a return that far exceeds its cost.
03DIY Photography Tips (If You Must)
If you're going to photograph your property yourself, here are the techniques that make the biggest difference:
Equipment
Use the widest lens available. On a phone, this is usually the main camera (not the telephoto). Some phones have an ultra-wide option, which can work for property photography but may introduce distortion at the edges.
Use a tripod or stable surface. Camera shake is the enemy of interior photography. Even a phone propped against a doorframe will produce sharper results than a handheld shot.
Shoot in the highest quality setting. RAW if your phone supports it, or the highest JPEG quality available.
Lighting
Open every curtain and blind. Natural light is your primary light source.
Turn on every light in the property. This fills in shadows and adds warmth.
Shoot during the day. Never photograph interiors at night, even with all lights on. The quality of light is fundamentally different.
Avoid direct sunlight. Overcast days actually produce better interior photos because the light is soft and even. Direct sunlight creates harsh shadows and blown-out windows.
Composition
Shoot from corners. Position yourself in the corner of each room and shoot diagonally across the space. This shows the maximum amount of the room in a single shot.
Keep the camera level. Tilting the camera up or down causes vertical lines (walls, doorframes) to converge, making the image look amateur.
Shoot at chest height. Not eye level, not floor level. Chest height (approximately 1.2 metres) is the standard for property photography and shows rooms in their best proportions.
Include the floor and ceiling. A common mistake is cutting off the floor or ceiling. Include both to show the full height of the room.
Preparation
Declutter ruthlessly. Remove everything that isn't essential. Clear worktops, hide toiletries, remove fridge magnets, tidy cables.
Clean everything. Smudges on mirrors, fingerprints on appliances, and dust on surfaces all show up in photos.
Style simply. A few carefully placed items (a plant, a throw, a coffee table book) add warmth without clutter.
04Professional Photography: What You Actually Get
Now let's compare what a professional delivers versus what's achievable with DIY:
| Aspect | DIY (Phone) | Professional |
|---|---|---|
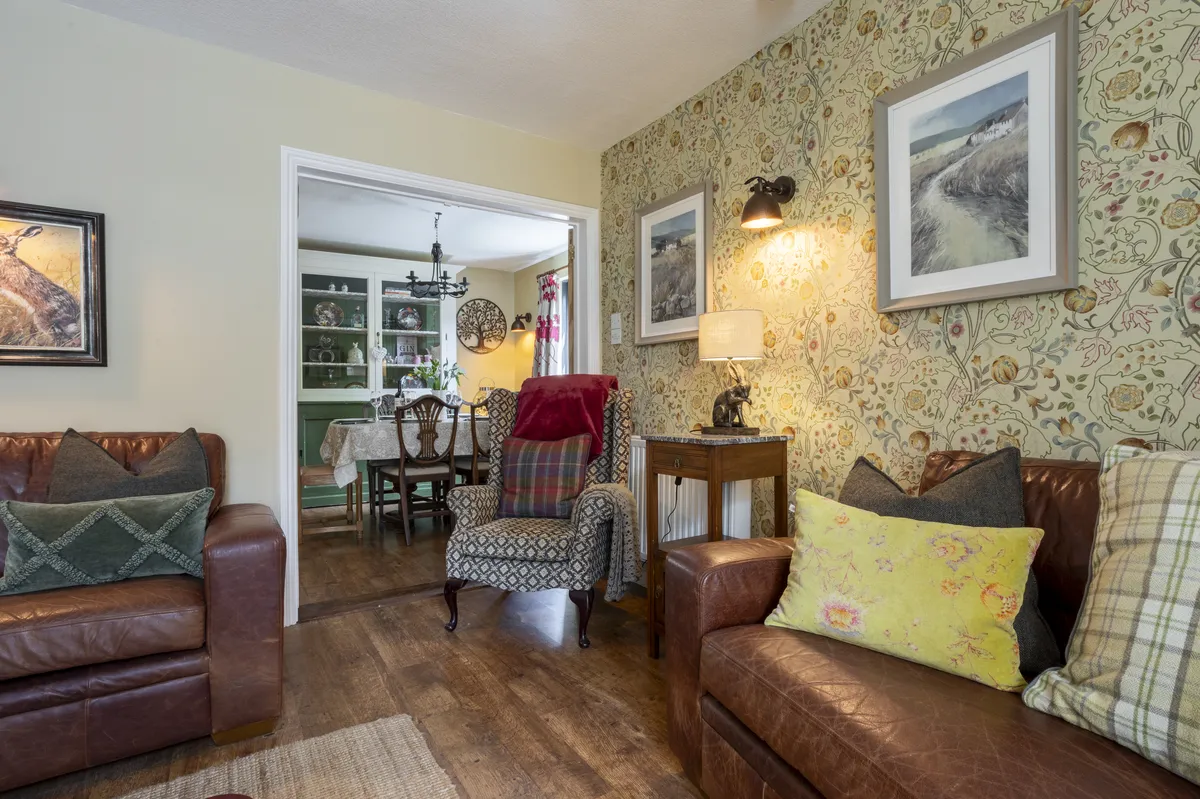
| Dynamic range | Limited (blown windows or dark corners) | Full HDR (everything visible) |
| Lens quality | Good but limited | Professional wide-angle, no distortion |
| Vertical lines | Often tilted | Always perfectly straight |
| Colour accuracy | Variable (often yellow or blue) | Calibrated and accurate |
| Consistency | Varies shot to shot | Every image to the same standard |
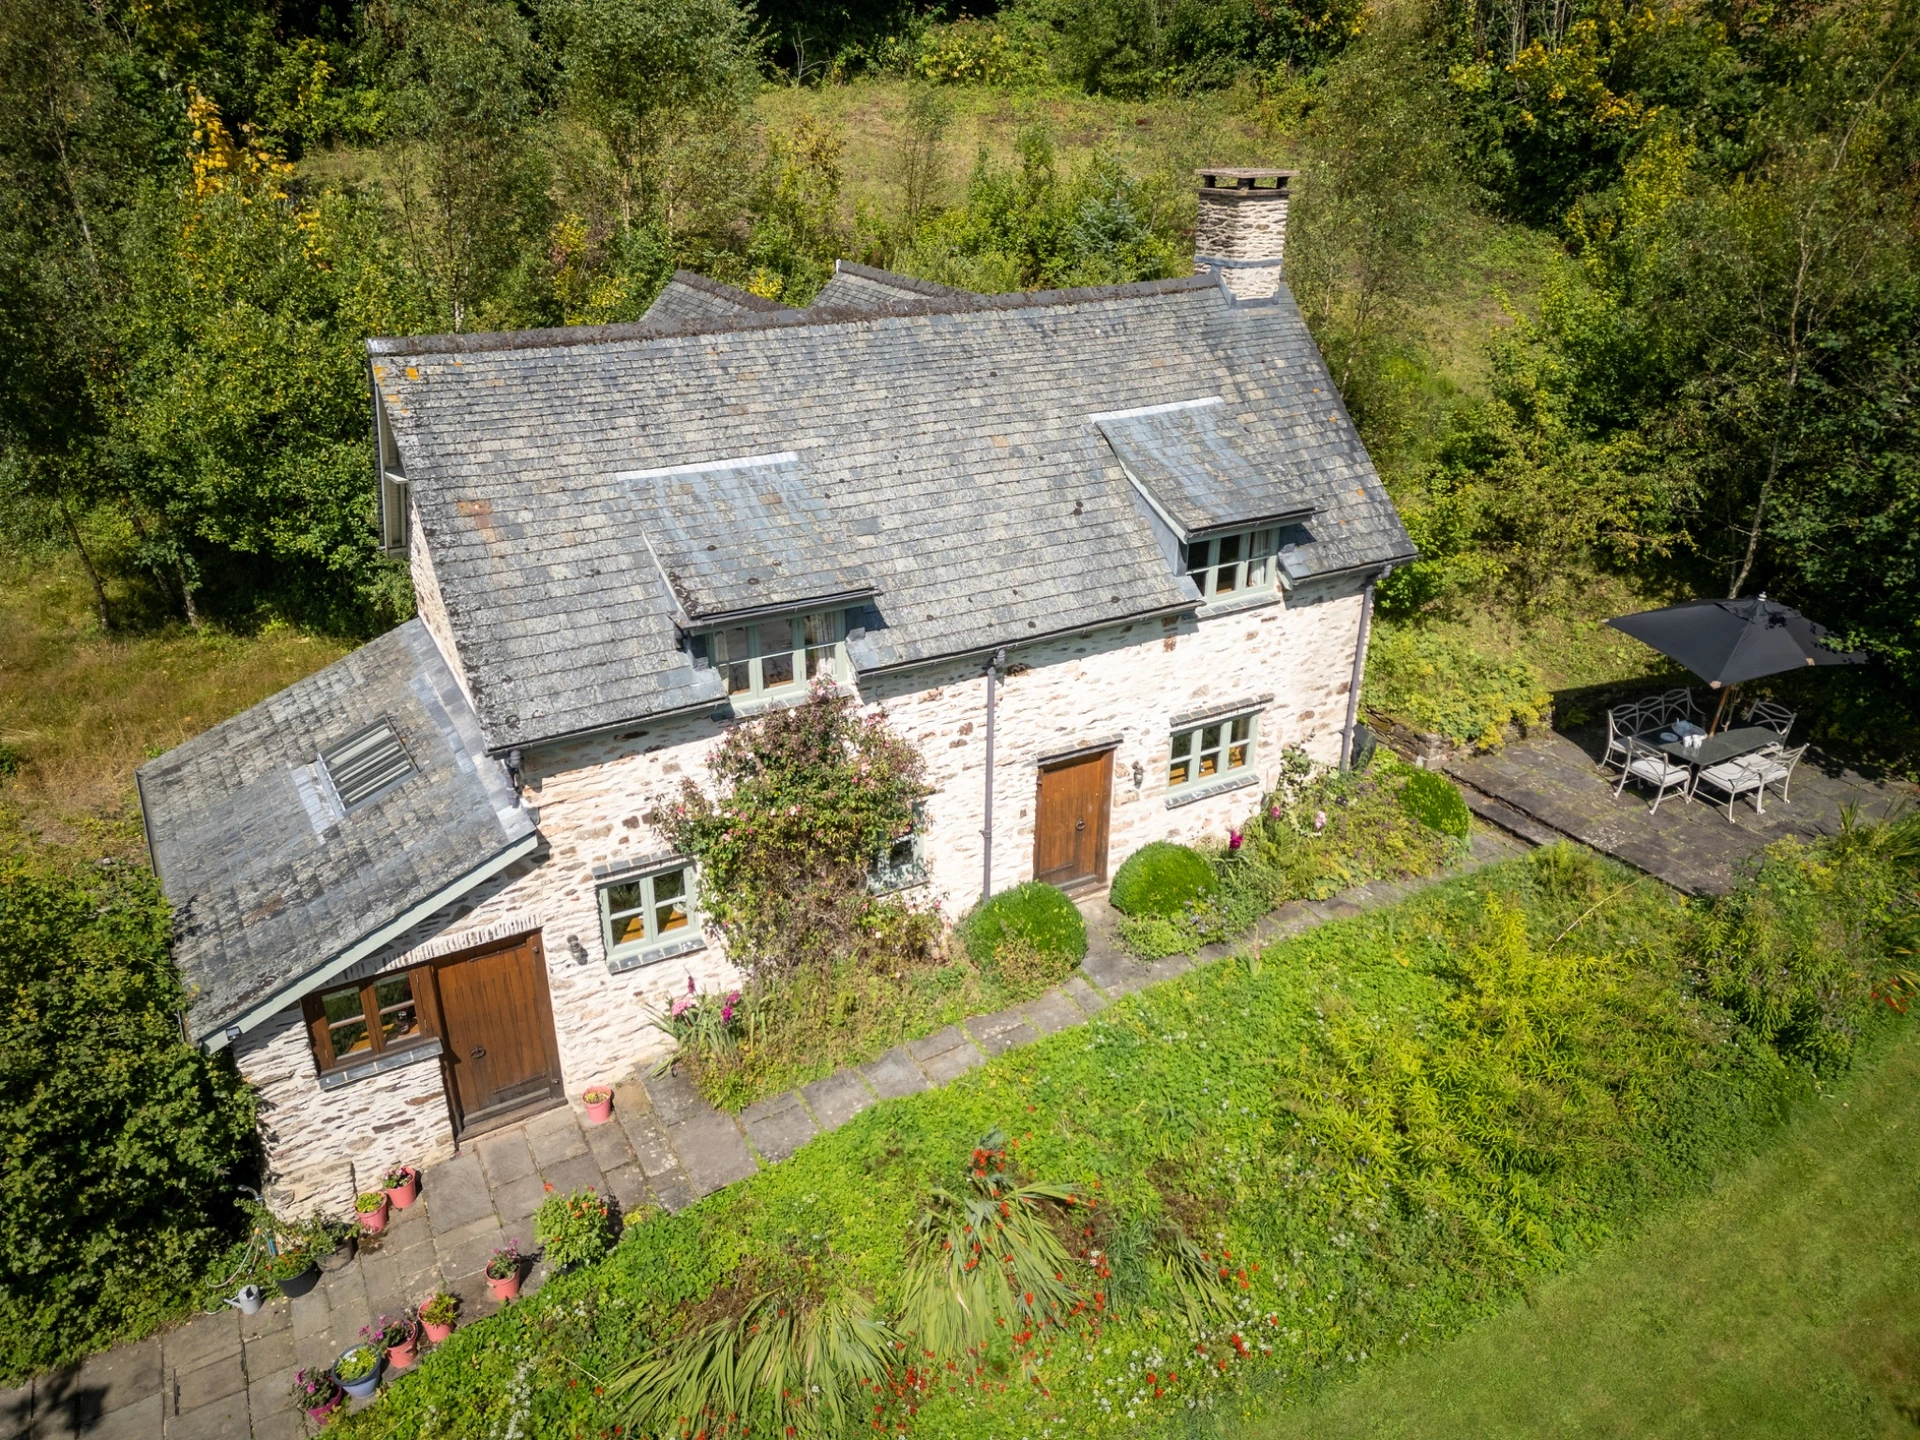
| Drone/aerial | Not possible without licence | Included as standard |
| Editing | Basic filters at best | Individual professional editing |
| Delivery | Immediate | 48 hours (professionally edited) |
The HDR Difference
This is the single biggest technical difference between phone and professional photography. HDR (High Dynamic Range) captures multiple exposures and blends them together, ensuring that both the bright window areas and the darker corners of a room are properly visible.
With a phone, you either expose for the window (making the room dark) or expose for the room (making the window a white blob). Professional HDR shows everything as your eyes actually see it.
The Lens Difference
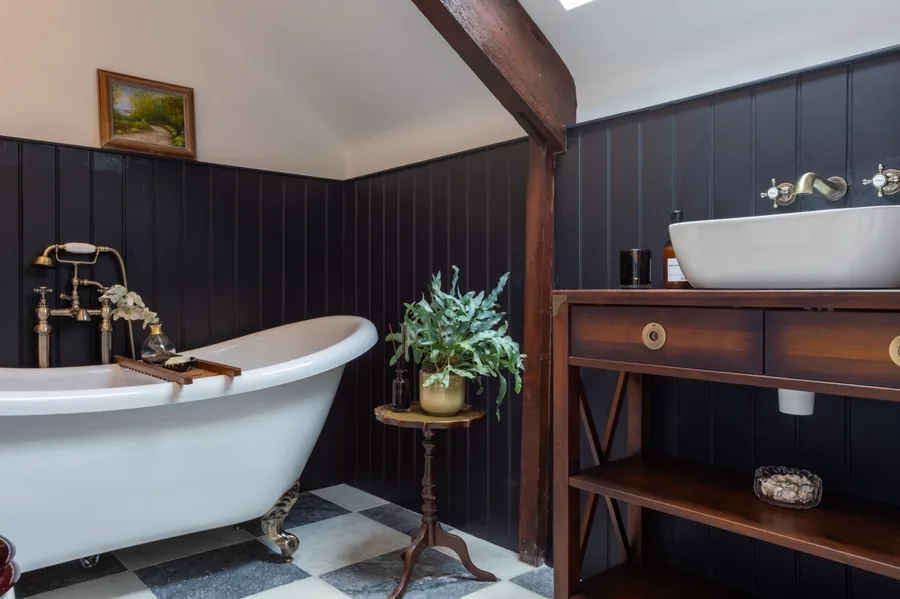
Professional property photographers use lenses specifically designed for architectural work. These lenses are wider than phone cameras (showing more of the room) while maintaining straight vertical lines. Phone cameras, even good ones, introduce barrel distortion that makes straight lines curve.
The Editing Difference
Professional editing isn't about making a property look different from reality. It's about correcting the technical limitations of photography:
- Straightening vertical lines
- Balancing exposure across the frame
- Correcting colour casts from artificial lighting
- Removing temporary eyesores (bins, scaffolding)
- Ensuring consistency across all images
05The Real Cost Comparison
| Approach | Cost | Time Investment | Quality | Impact on Sale |
|---|---|---|---|---|
| Phone (DIY) | £0 | 2-3 hours | Variable | Baseline |
| Professional Essential | £149 | 30 min prep | High | +61% views, faster sale |
| Professional Premium | £299 | 30 min prep | Excellent | Maximum impact |
The "free" option isn't really free. Your time has value, and the opportunity cost of slower sales or lower offers far exceeds the cost of professional photography.
For a property valued at £300,000, the Professional package at £199 represents 0.066% of the property's value. If professional photos help achieve even 0.5% more on the sale price, that's £1,500 return on a £199 investment.
06What Rightmove's Algorithm Rewards
While Rightmove doesn't publicly disclose its ranking algorithm, analysis of listing performance suggests that several factors influence search position:
Click-through rate: Listings that get clicked more often from search results tend to rank higher. Professional photography significantly increases click-through rates.
Time on listing: Buyers who spend longer looking at a listing signal to Rightmove that it's relevant and interesting. More photos and higher quality images keep buyers engaged longer.
Number of photos: Listings with 15-30 photos consistently outperform those with fewer images.
Photo quality signals: While Rightmove doesn't officially assess photo quality, listings with professional photography tend to perform better across all engagement metrics.
07The Verdict
For most property sales in Bristol, Bath, and Somerset, professional photography is not a luxury. It's a basic marketing requirement that delivers measurable returns. The cost is minimal relative to the property's value, the time investment is small (30 minutes of preparation versus hours of DIY), and the impact on viewings, offers, and final sale price is proven.
If you're selling a property worth more than £150,000, professional photography pays for itself many times over. If you're an estate agent, it's the single most impactful investment you can make in your marketing.
Professional property photography from £149 including drone. Covering Bristol, Bath, and Somerset. View my pricing or get in touch to book.